Friday 19 August 2011

Faux Books

Another idea borrowed from Craft Stamper !

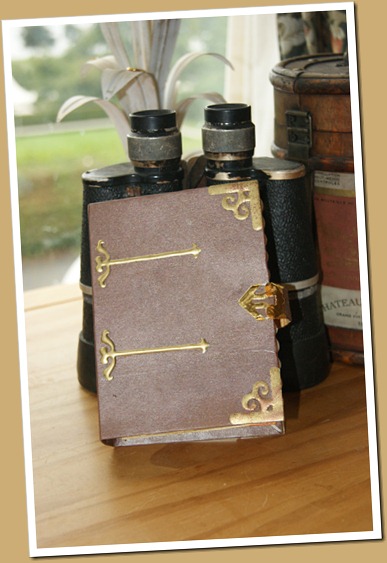
This is such a cool technique.  The covers of the “book” are made out of a piece of card, 6 inches wide and 11 inches long, creased at 4.5 inches and 6.5  inches.  To make the “pages” of the faux book, you take 2 pieces of paper just under 4.5 inches by 11  and 2 pieces just under 6 inches by 11.  Concertina them (I used the Hougie board to get  the concertina pleats spaced evenly, 1 cm apart.  The fun begins then as you need to interlock the folds (easiest if you do a short side to a long side, then repeat, then put it all together and let it dry. This is fiddly and you need a good glue (I used the Paper Flower Expert glue)

The example in the magazine was covered in pretty paper and stamped with a lovely sentiment.  The first one I made was similar – then I remembered the faux leather technique and thought..wouldn’t a “antique” leather faux book be cool?

The Faux Leather Technique

You need some card to turn into “leather” and some dimensional paint – I used Tulip paint – in a mix of colours of your choice and a roller/brayer. It doesn’t have to be fancy.   If you have a old ink roller that used to be used for lino prints or similar that will work fine.  Be warned – if you are going to use your best Speedball brayer have a bowl of water ready to drop the brayer into as soon as you’ve finished as once the paint dries it’s in place for good and will wreck your brayer, so clean it IMMEDIATELY.  You also need a non-stick craft sheet or something to mix and roll the paint on – I use the lid of an ice-cream container.

Spread dollops of paint onto your craft sheet or whatever you’re using and mix them up.  Once you’re happy with the blend, load your roller and roll the paint onto the card.  Once you’ve got it covered, go over it one last time, rolling in one direction (e.g. away from you or towards you but not both).    The card will have a  texture like fine hide – now clean the roller and leave the card to dry.SONY DSC
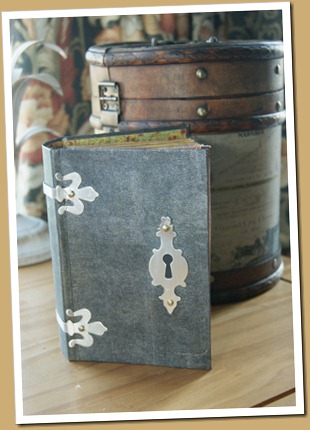
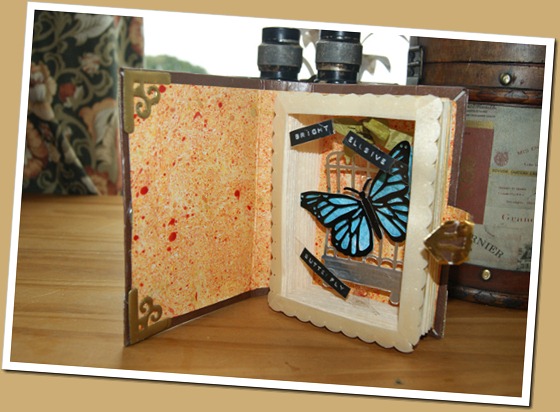
The core of the “book” is shirt cardboard.  The “leather” card and the marbled paper  lining give it strength.SONY DSC
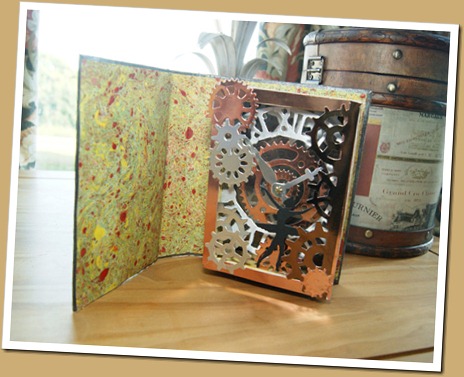
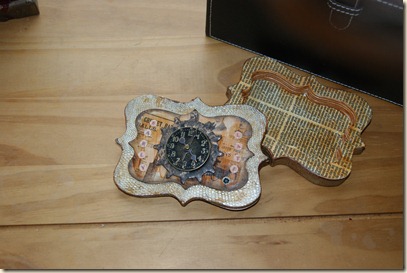
I call this one “Coppelia” after the ballet – Coppelia was, I think, a life-sized dancing doll so the clockwork seemed to fit.

SONY DSCSONY DSC

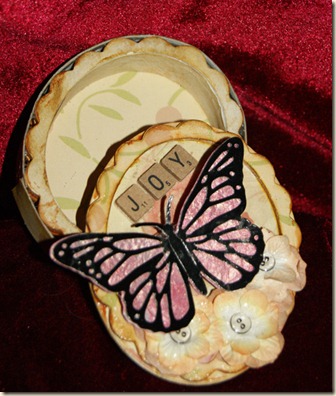
Bright Elusive butterfly.    This one was inspired by a Val Doonican song that I had running through my head. 

Sunday 26 June 2011

More Tags

It’s been all quiet on the tagging front lately;  I’ve been off concocting Steampunk items, including a set of Victorian undercrackers (with real drawers that are basically two legs on a waistband!).  I shall be returning to the sewing machine in August, when I have some time off booked – I will be making myself a corset.  Determined to lose some weight, also, so I’m holding off on making my costume, but I have the material stashed away.
Still , I’m back to making tags for now. ‘
SONY DSC
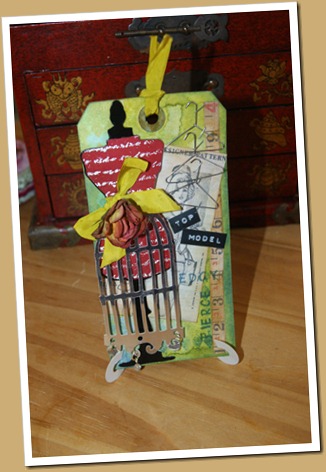
This is my version of one of Tim Holtz’s tags, using one of his Alterations dies.  The cage was cut on my Craft Robo (file downloaded from Silhouette).  You can just see the diamond pattern which was stamped in Castaway ink – when heated it changed the ink to that vivid turquoise in the top left of the tag .
DSC00235
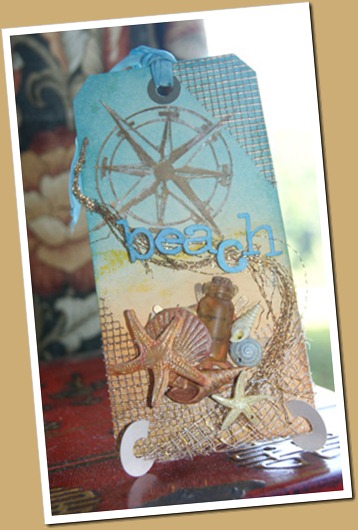
Back to the seaside again!
SONY DSC
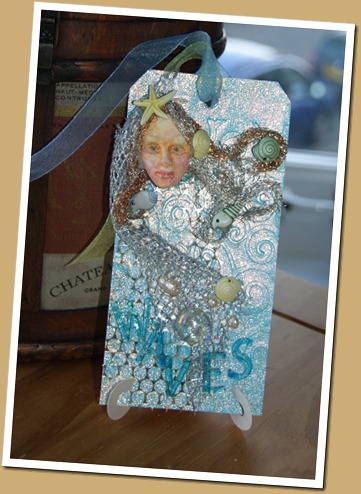
And again.  The mesh on the corners is plasterer’s mesh tape, sprinkled with gold embossing powder.  The little bottle is UTEE, melted and poured into a mould taken from a tiny bottle.  I put a “message” inside while it was still molten.  The large shells and starfish are paperclay – the moulds came from a sugarcraft shop.
DSC00266
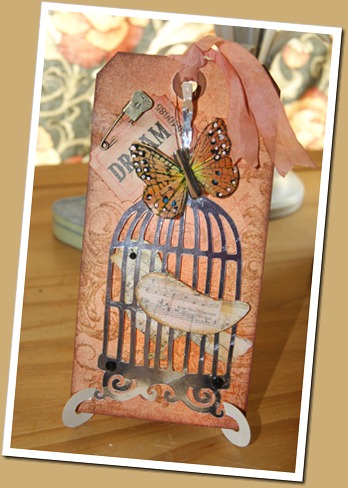
Bird and cage cut wiith Robo, files from Silhouette.  The butterfly was coloured with Big & Juicy inks to tone with the rest of the tag – the original yellow was too harsh.

Sunday 1 May 2011

Tags, Drawers and Oddments!

I don’t update this blog as often as I should;  the reason (I tell myself) is because I’m working on a laptop and my keying doesn't seem to work properly.

I was trained to key (Vehicle Registration Documents) by the Civil Service and I’ve never cottoned on to the flat keyboard.  Yes, I do have a proper keyboard that plugs in via the USB port but the other half has had a laptop malfunction (he cracked the screen – could have been a disaster but he’d forgotten to cancel the “30 days free” insurance when it went to “pay for if you want to keep it” and as a result was covered for the damage!) and has stolen the keyboard to run his old laptop which has a worse keyboard than mine…he says.

Anyhow, here’s some of what I’ve been busying myself with lately.

Paint fusion, again.

 SONY DSCSONY DSC

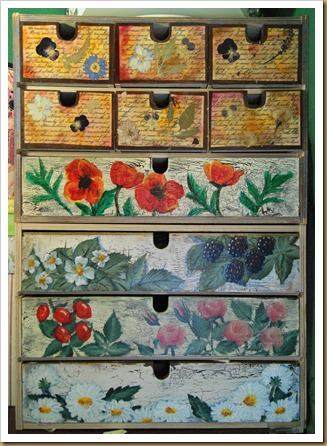
I finally got around to doing my IKEA mini-chest.  I like these drawers as they can be put into the chest either way round (if you follow me) so you can get two different looks!  I may change the small drawers in the top layers – perhaps.SONY DSC

I’ve just ordered the new sets so no doubt there’ll be more to come.


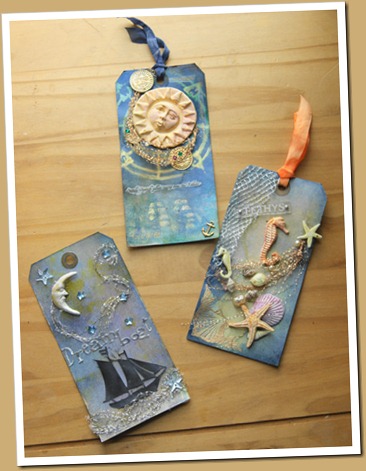
However, just at the moment I’ve been doing some Tag art.  I love the Tim Holtz/Grunge/Vintage look and started off to practice some of the techniques in the Compendium of Curiosities.  Not sure what happened – I seem to have gone all nautical!SONY DSC

I’d had some AMACO moulds of the celestial embellishments for ages and  recently saw the large seahorse and seashells moulds in the sugarcraft shop – I went in there to buy a small cutter for Friendly Plastic and there was a wall FULL of all sorts of moulds.  I’ve been playing with Paper clay and air-hardening clay so I had a good stock of embellishments in my bits box all ready to go!

DSC00218

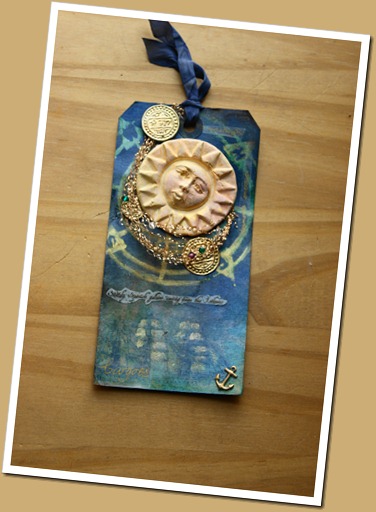
This was the first of the three I made.  I started with the compass mask (from Clevercut) and sprayed it .  For some reason I had John Masefield’s poem “Cargoes” in my head -

Cargoes

Quinquereme of Nineveh from distant Ophir,
Rowing home to haven in sunny Palestine,
With a cargo of ivory,
And apes and peacocks,
Sandalwood, cedarwood, and sweet white wine.

 
Stately Spanish galleon coming from the Isthmus,
Dipping through the Tropics by the palm-green shores,
With a cargo of diamonds,
Emeralds, amethysts,
Topazes, and cinnamon, and gold moidores.

 
Dirty British coaster with a salt-caked smoke stack,
Butting through the Channel in the mad March days,
With a cargo of Tyne coal,
Road-rails, pig-lead,
Firewood, iron-ware, and cheap tin trays.


I don’t know how to describe the material the gold wires were made from – it’s a sort of springy stuff that shivers and tinkles and snakes around.  I pulled it out and then made it into a bundle, threaded crystals on it (diamonds,emeralds,amethysts!)

DSC00219

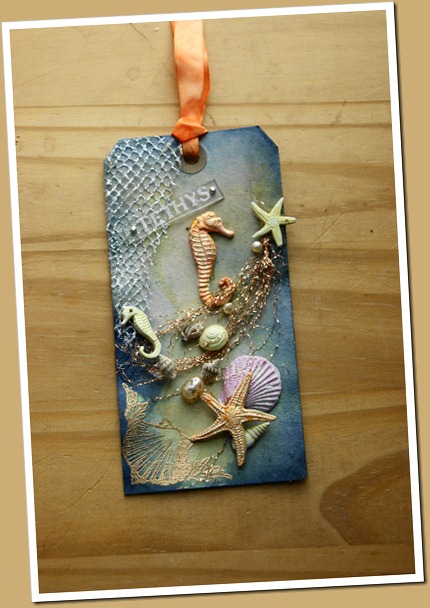
The small shells and seahorses on this one have been in my stash for ages – I got them from the Works!   The large shell, starfish and seahorse are paperclay.  The “Tethys” plaque (goddess of the sea) is shrink plastic and the shell corner stamp is from Clarity, and was where the tag started.

SONY DSC

The ship was cut with my Craft Robo- the shape was downloaded using the Silhouette software.

Sunday 3 April 2011

More Paint Fusion!

SONY DSC

I am LOVING Paint Fusion.  And I really love this little chest of drawers by Kaisercraft (got ir from Merly)  Now what should I keep in it?  Jewels, perhaps!

I also altered my specs case some time ago so it’s about time I shared a picture

SONY DSC

Saturday 12 March 2011

Paint Fusion


SONY DSC

This is my first attempt with Sheena Douglass’s Paint Fusion system.   I am well impressed with it – and surprised at myself! - so the boxes have taken a back  seat for a bit.

Not entirely, though!

SONY DSC

Friday 25 February 2011

Off my Box!

I have gone a bit box mad right now.  After making the first two, I wanted to perfect the technique.  Also, I had a week’s leave from work so I really wanted to make the most of the time off! 

I experimented with an oval frame die but wasn’t too thrilled with the results – it took a lot of tinkering to get it so that I liked it! SONY DSC

I altered some travel sweets tins (after removing the sweets – it’s a tough job, but someone has to do it!)

DSC00152 

After that I went back to the Tim Holtz Alterations dies.

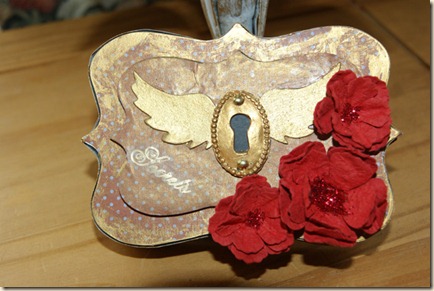
This one is my husband’s favourite – he keeps it on his bedside table and keeps his odds & ends in it!DSC00129

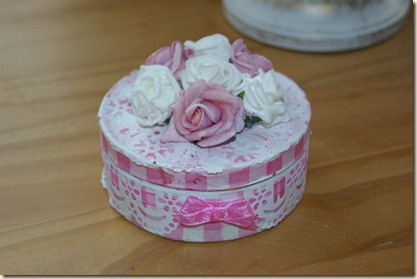
The pink gingham on this tin is actually a couple of cupcake cases (new ones!) that was part of a “pass the parcel” prize at my friend’s Jamie Oliver at Home party.  I told her she should have done Particraft – I’d’ve paid her mortgage! – but having won the goody bag I felt compelled to do something crafty with it. 

It’ll go to the bowling club as a raffle prize so hopefully someone’ll like it (I’ve filled it with strawberry bon bons!)

SONY DSC

Another one that finished up looking very different from the way it started – it was much less grungy and antique!

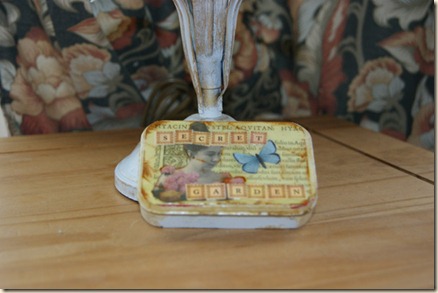
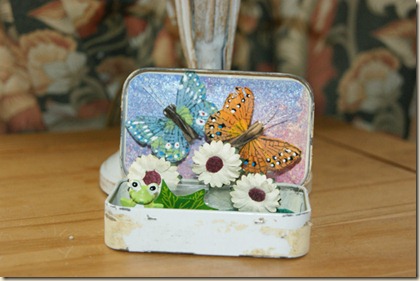
SONY DSCLast but not least, my “Secret Garden” tin

SONY DSC

(which began life as a tin full of extra-strong mints!).

SONY DSC

I’m still playing – and I have a new toy, my Vagabond!  I’m SOOO looking forward to using it/

Sunday 6 February 2011

Little Boxes

SONY DSC

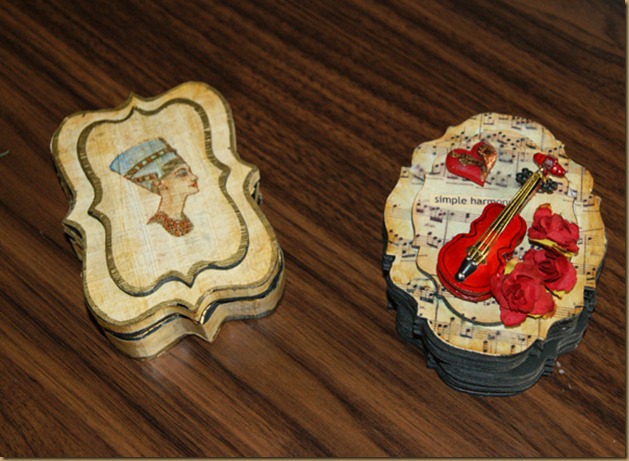
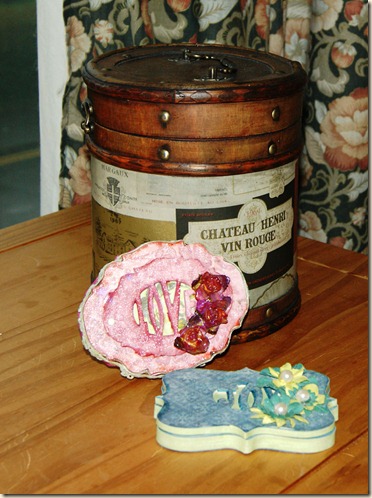
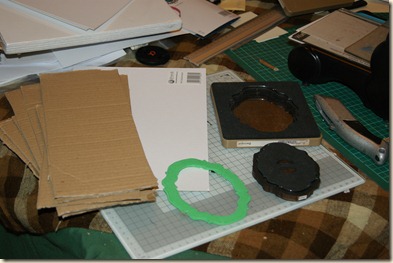
This month’s Craft Stamper inspired me to re-create my own version of Kim Costello’s pin box.  I didn’t have the same Sizzix die that was used in the original, and I didn’t have any foam board either, so I improvised.  I used the Tim Holtz Alterations Movers and Shapers Baroque shape dies and made my box out of corrugated cardboard from a packing box and mountboard.DSC00119

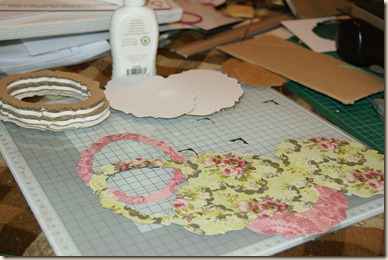
Top tip – I created my own ejection foam from a couple of layers of funky foam, as without it I had the dog’s job of getting the die cuts out of the die!  They also helped me space the dies consistently when I needed to cut more layers.  I cut about five or six layers and stacked them up until I got the depth of box I liked.  I also cut a frame shape out of  the mount board (twice) to give some strength to the edges of the box lid and base and also in the patterned paper.  Last of all I cut the large shape (without the inner) in mount board and Patterned paper, twice each, for the bottom of the box and the lid/

 DSC00121

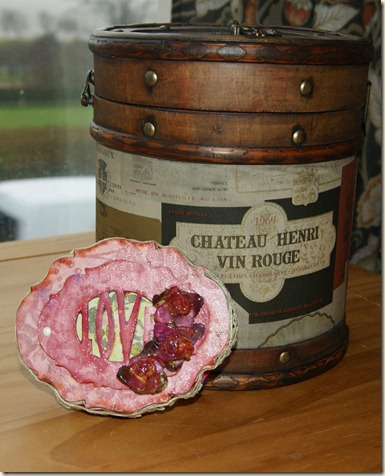
When it was all cut out and glued together,  I covered it with K & Co paper but wasn’t really happy with the result.  SO – I took one of the shapes that had been cut out of the mount board frames and K&Co paper  (the inner bit) and used another Alterations die to cut the word “Love” into it, stuck the whole thing together and covered it with Distress Crackle paint.  It still needed something, so I dipped some paper roses that I had in my stash into UTEE.  Ideally, I’d have layered up my own roses and dipped each layer before I put them together as the result is so much better but by then I was anxious to finish,  A bit of lace and velvet ribbon around the edge and the job was done!

SONY DSC

These things are addictive!  Next one I made I used foam board and needed fewer layers. 

SONY DSC

Prima flowers on this one, with Rock Candy Distress Stickles.  Now what’s next?….

My Crafting "Nook"


Posted by Picasa
I admit it, craft stash has taken over my home. I have Really Useful Boxes full of stuff lining the walls in the back corridor; to non-crafters it must look terribly eccentric. You can barely move around our bedroom. But, in my defence, I am not alone in cluttering up the house – David also has hobbies (and refuses to let me throw out his collection on back issues of the Fortean Times.) Anyway, for Christmas I bought him a Kinect controller for his Xbox (which is like science fiction, you wave at it to control your Xbox – we are now officially living in the future!) So when he tried it out we found it didn’t have enough room in the bedroom for best operation. OK, I said, we’ll move it into the living room and move the old desktop PC into the bedroom (hardly ever use it these days) and I’ll move my craft work desk into the space where the PC was and we’ll get a new desk for your Xbox… I nearly killed myself putting the new desk together (mostly on my own – he was in work the day it was delivered and I didn’t want to spend all weekend stepping over the flat pack box!) but afterwards had loads of fun reorganising everything in my new “Crafting nook”. I still have stuff all over the flat but the stuff I use regularly is now is easy reach and my living room, at least, can be tidied quickly if visitors are expected!